
让它变得漂亮
Category 1 Biking 即将到来。在这一步中,我们添加自定义品牌,更新组件,并对社区进行最后的修改。让我们开始吧。
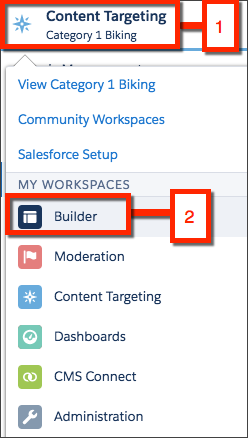
点击Content Targeting [1],然后点击Builder [2]打开社区生成器。
我们首先向社区添加品牌,并更新导航菜单。
更新标题
- 点击标题组件。

- 更新标题如下:
- 标题: Category 1 Biking
- 横幅文本: Welcome to the community!
更新品牌
- 选择 Branding.

- 在颜色下,选择任何调色板。
- 在图片下,点击标题图片,然后点击上传图片上传图片。从您之前下载的zip文件中选择header.jpg。
更新导航菜单
- 点击Navigation Menu组件。

- 点击 Navigation Menu.
- 点击 + Add Menu.
- 定义菜单项如下:
- 名称: Cases
- 类型: Salesforce Object
- 对象类型: Case
- 默认列表视图: My Open Cases
- 点击 Save Menu.
- 点击 Publish.
添加聊天管理单元和文章组件
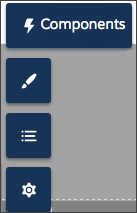
- 选择 Components.
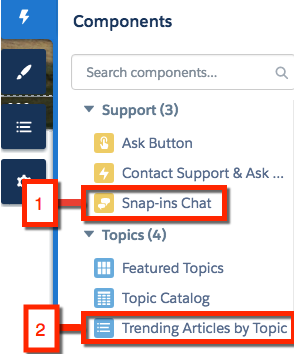
- 找到管理单元聊天[1]和趋势文章的主题[2]组件。
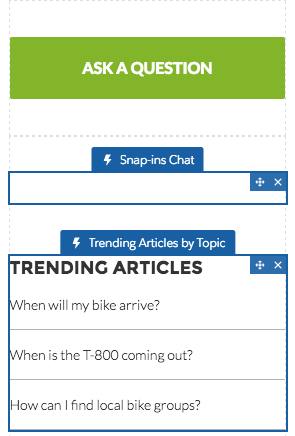
- 选择管理单元聊天并将其拖动到问题组件下方的侧边栏中。关闭管理单元聊天对话框。
- 按Trending Articles by Topic,然后将其拖到“管理单元”聊天组件下方的边栏中。按主题关闭趋势文章对话框。
发布你的社区
- 点击 Publish.
- 在发布您的社区确认屏幕上,单击Publish,然后Got It.
一旦您的社区发布,您将收到电子邮件确认。点击电子邮件中的链接即可查看您的社区!